Friday, June 29, 2012

Story of the World: Chapter 4

All Hail the Chicken Mummy!

It's here, it's finally here: the infamous chicken mummy chapter!  Crazy Bug and I have eagerly awaited chapter 4 of The Story of the World, because we've heard so much about the chicken mummy project.  And because we like doing really weird stuff.

Chapter 4 is about the Old Kingdom of Egypt and focuses on mummies and pyramids.  There are a couple projects suggested in the Activity Guide, but the one everyone talks about is mummifying a chicken.  I was wary at first, because I hate handling raw meat and I gag very easily.  The idea of leaving a chicken on my counter for a month didn't sound too tempting.  But many people reassured me, and I'm happy to say they were right.  Our chicken (actually a cornish game hen) is drying nicely in a mixture of baking soda, washing soda, and salt.  No stench!  If you don't have the Story of the World Activity Guide, you can find similar chicken mummy directions here.

I'd recommend this project for anyone studying Ancient Egypt.  Crazy Bug is in that gross six year-old phase and just adores our King Cluckmantutan.  She's really understands what the mummification process is all about now, and I'm sure she'll remember the information for a l-o-n-g time.

Here's what else we did:


Story of the World Lapbook, Chapter 4 component


Books
You Wouldn't Want to Be an Egyptian Mummy! - this book is not for the squeamish!
You Wouldn't Want to Be a Pyramid Builder
Mummies! (Know-It-Alls)


Project
Scented Oil
This is a project from the Activity Guide.  We'll use it later on our chicken mummy.  Crazy Bug chose the unusual and highly stinky combination of cinnamon, garlic, onion, curry, and dill seed.


Monday, June 25, 2012

Raising Artistic Children

One of my major goals as a parent is to raise a creative, artistic child.  That doesn't necessarily mean a child whose drawings amaze others.  It means a child who loves to create, who really looks at art and responds to it, and who uses her hands to communicate and express herself.  How do I pursue this goal?  Well, you may have noticed we do a LOT of artist studies around here...

Here are some ways to help your children develop artistically:


1.  Keep your house stocked with art supplies.
Children can't explore and create if the materials aren't available to them.  And don't lock these away for special occasions; use them weekly!

Paint - For an extremely washable, multi-use paint I love Colorations Washable Tempera
Watercolors -Spring for the Crayolas.  The colors are much more vivid than cheaper brands.
Paintbrushes - Get a good mix of brush sizes and some foam ones.
Construction paper - 9x12 and 12x18
Crayons
Markers - both washable and Sharpies
Oil Pastels - These are used like crayons, but they can also be blended with your fingers.
Clay - There are a million choices here: oven bake, air dry, modeling foam.  Choose your favorite.
Glue sticks
Scissors
Strong Glue - I love Beacons 3-in-1.  It is SUPER strong and dries very quickly.
Collage materials - magazines, fancy paper, rhinestones, glitter, feathers, foam shapes, etc.
Acrylic Paints - Once your kids are past the toddler years, you may want to buy some acrylic paints.  These aren't washable, but look much better on surfaces like wood or clay.
Spiral-bound Sketchbooks - for drawing on the go

2.  Buy a good book of art ideas or art "recipes"
Here's a little secret: I'm really not that creative.  I spend a lot of time gathering ideas from books and the internet.  To save you some time, I've listed two of my favorite books.

Scribble Art: Independent Creative Art Experiences for Children (Bright Ideas for Learning)
Complete Book of Art Ideas


3.  Look at art
Buy books about art and artists or check them out from your local library.  Discuss the differences between artworks and styles and what you like or dislike about them.  Don't panic!  Discussing art doesn't require an art history degree.  If you don't know what's special about a particular artwork or movement, read a children's book about it.  The authors have already done the work for you by figuring out how to explain its significance in child-friendly language.  After you've looked at books, see art in person.  Visit an art museum, sculpture garden, or art show.  Again: discuss, discuss, discuss!

4.  Encourage your child to step out of his or her comfort zone.
If your daughter likes to keep her paint colors separate, encourage her to mix them once in a while.  If your son always draw with dark, thick lines, ask him to try drawing with light, sketchy lines.  Your kids love to paint, so you encourage them to sculpt.  Trying new techniques is so important this stage!  Don't let your kids fall into rigid habits.  (But do let them revert to their favorite styles when they initiate the project.)

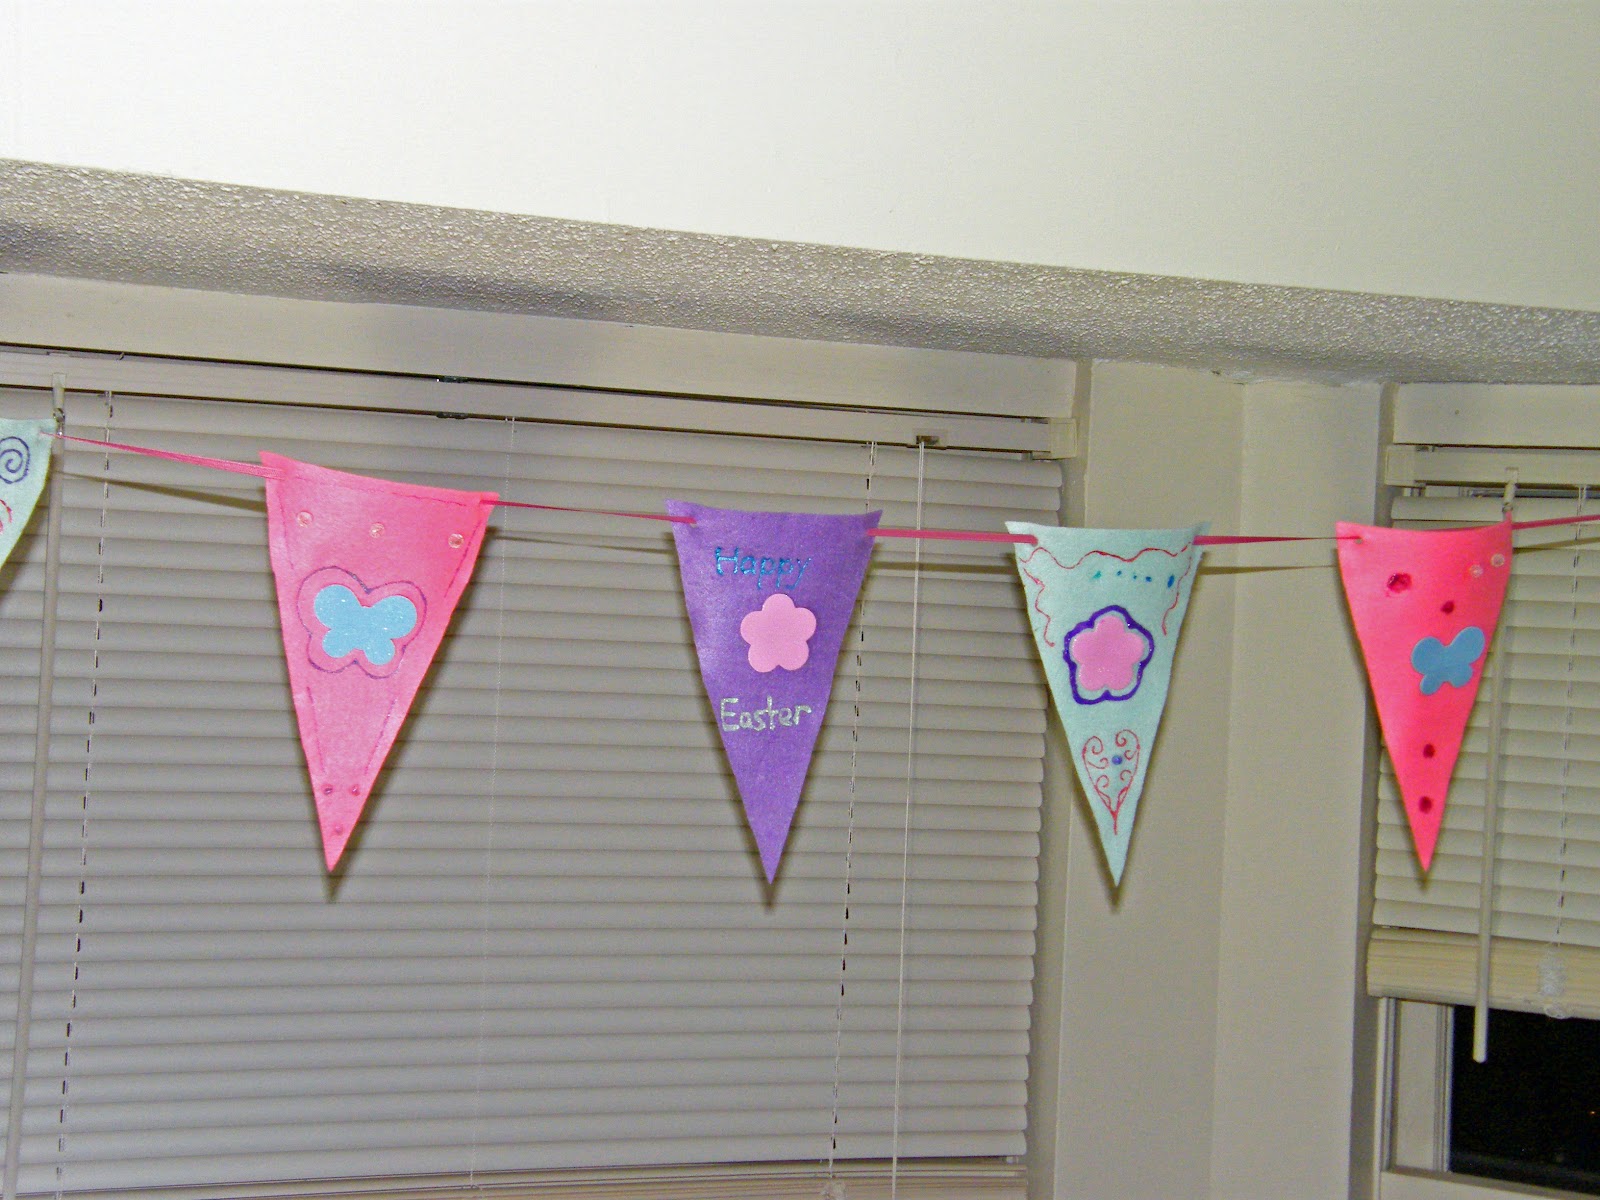
5.  Change your decorating style to Kiddie Art Chic
Displaying your children's art lets them know how important it is to you.  My entire house is covered with paintings, drawings, collages, and other crafts.  It's not pretty.  But it's teaching my daughter that creating is important.  It's showing her that what she does isn't just "refrigerator clutter" -- it's worthy of my wall space and our attention.

These ideas should get you started.  Before you know it, your walls will be covered and your six year old will be asking to go to France to visit the Monet museum.  Mission accomplished!

Saturday, June 23, 2012

Story of the World: Chapter 3

Chapter 3 of the Story of the World is only one section long, but we did a lot with it!  This chapter discusses the invention of writing and introduces both cuneiform and hieroglyphics.  We read the chapter and completed the chapter 3 lapbook component.

Books
Seeker of Knowledge - I loved this book!  It's a great beginner's biography of the man who deciphered the Rosetta Stone.

Craft
After discussing how the Egyptians made papyrus, we made our own homemade paper.  I've done this before using materials from around the house and it was a pain in the neck.  This time we used Arnold Grummer's Papermaking Kit , and it was much, much easier!

Science
We did an experiment to test which was a more durable method of writing, carving on clay tablets or writing on paper.

1.  First, we used Sculpey oven-bake clay ( III Modeling Compound copper) to create clay "tablets".  Using toothpicks, we carved cuneiform letters onto them and baked them until hard.


2.  My mother gave Crazy Bug a great hieroglyphic stamp set from the Metropolitan Museum of Art, which we used to stamp "papyrus" (resume paper).  We rolled the paper into scrolls and tied them with string.


3.  We filled two identical containers with the same amount of same temperature water (a great time to talk about controlled variables), and put the clay tablet in one and the paper in the other.  We then checked the items every few hours to see how they were holding up.  By the next morning, we couldn't unroll the paper without ripping it, but the clay was unchanged.  Crazy Bug and I discussed the fact that there are few records from the later Egyptian periods and how this relates to the use of paper.  We also discussed how our modern records (paper and computer files) might hold up in 5000 years.

Monday, June 18, 2012

Cute Banner Craft

Make this cute, simple banner to decorate a kid's bedroom, decorate for a party, or just liven up your house!  It works nicely as either a family project or something for your kids to work on at the table while you're making dinner.


Materials needed:

Three 9"x12" sheets of colored felt
Foam or felt stickers
Glitter glue or puffy paint
Beads
Strong glue (Like Beacons 3-in-1)
Hole punch
1/4" satin ribbon

Directions:

1.  Cut 9 triangles from the felt. They should be approximately 3" wide at the base and 10" long.

2.  Decorate the triangles with the stickers, glitter glue, and/or puffy paint.  Glue the beads on for added detail.

3.  Punch two holes at the top corners of each triangle.

4.  String the triangles on the ribbon in a pleasing pattern and then hang.

Wednesday, June 13, 2012

Summer Reading Olympics!


Olympic Rings

Now that summer's here, your children are going to be spending a lot less time sitting in class, and a lot more time sitting around your house.  Hot summer days can be boredom inducing, or they can be brain boosting!  There's nothing better than relaxing in front of a fan with a good book on a steamy day.

But maybe your kids haven't realized this yet.  Maybe they haven't discovered that reading is fun.  What you need is a little incentive.  Many parents feel they shouldn't reward kids for reading because they want their kids to read purely for the love of it.  This ignores a fundamental truth about reading, however.  When kids first learn to read, it's not fun.  It's hard, hard work!  Their little brains are trying to remember a million things at once, and it's exhausting.  Reading only becomes enjoyable once it feels natural.  Until then, your child probably needs a little motivation.  We used to require Crazy Bug to read 10 minutes a night.  Some nights it was torture.  We kept it up, though, and suddenly, when she got to a second grade reading level, she took off!  Now she's reading day and night.  It took us a few incentive programs to get her there however.

This year Crazy Bug's school participated in her school's Reach For the Gold Reading Program.  The idea was for students to become "Olympic Readers" by reading for 15 minutes each night.  There were ribbons for students who read for 10 consecutive nights, and medals for those who read 20, 30, or 40 nights.  Crazy Bug would have done ANYTHING to earn that gold medal!


There's no reason you can't recreate this program at home!  Here's how:
  • Set your own goal for either a daily commitment or a total number of hours read.
     
  • Kick off your Reading Olympics with an Opening Ceremony.  Create some fun Olympic themed crafts together, like this Olympic torch.

  • At the halfway point, your "athletes" gain corporate sponsorship with all its perks!  (Let them choose their favorite place for an inexpensive treat and call it a sponsorship perk.)

  • Keep the fun rolling with Activity Village's Olympic printables.
     
  • When your kids have met their goals, hold an awards ceremony.  Make your own awards or purchase these fancy medals.
There's no reason why you can't stretch the Olympic fun to other subjects too.  The Summer Olympics has more than one event.  Maybe your child can earn a silver medal in math facts or a bronze for geography!  You could also do a unit study on the Olympic Games.  Homeschool Shareoffers a free Olympics Lapbook template.

Sunday, June 10, 2012

Math Mammoth Success!


After carefully reviewing way too many curriculum samples, I settled on Math Mammoth.  I like that it's a mastery-based curriculum.  Your child won't just touch on a subject then rush off to something else.  I also liked that it's affordable!  Other deciding factors were it's easy open-and-go format and the fact that it's easy to either speed up or slow down depending on your needs.  Although some parents have complained that there are too many problems per page, the curriculum is designed so you don't have to do them all.  Once your child demonstrates that understands the concept, you can skip some of the problems.  If your child is struggling, you can do them all.

So far, it's been a big hit!  Crazy Bug successfully learned to tell time in two days!  The addition chapter was a little slow for her, and she's spending plenty of time practicing her facts on Xtra math, so I let her test out of that chapter.  (Testing out is when you let a child take the end of unit test before studying the material.  If the child can demonstrate mastery, he is able to skip the unit and move on or do enrichment work.)

We've also been spending plenty of family time playing the addition and subtraction games suggested in the curriculum.  They're super easy to create if you just have a deck of cards and a couple of dice on hand.  We've also been playing Smath, a Scrabble-like math game I found at a yard sale.  You could also try the vintage math game Quizmo if you can get your hands on a copy.


Friday, June 8, 2012

Picasso Artist Study

This week we tackled Pablo Picasso for our artist study.  Picasso's variety of styles and lively personality should capture your kids' attention.  There are also so many great resources available for this unit!

Kristen over at Teaching Stars recommended some fantastic picture books that mix fiction with non-fiction.  Until I visited her blog, I'd never realized there were so many picture books about artists available!  Check out her Picasso study here for more ideas.

We read:
Pablo Picasso: Breaking All the Rules (Smart About Art), by True Kelley
Picasso and Minou, by P. I. Maltie
When Pigasso Met Mootisse, by Nina Laden
Picasso and the Girl with the Ponytail, by Laurence Anholt


I highly recommend When Pigasso Met Mootisse if you've studied both artists.  It's a very funny read. (At least if you like puns.  And I do, oh, I do.  Much to my husband's dismay.)

Next Crazy Bug had a choice of painting a picture inspired by Picasso's Blue Period or Rose Period.  We talked about how Picasso used colors express his emotions.  Crazy Bug was also able to explore how many, many shades of color there are in the world.  Basically, choose a subject to paint that makes you feel either happy (Rose Period) or sad (Blue Period).  Then use just red or blue paint mixed with various amounts of white, black, and brown to create all the different shades for your painting.

Here's my example of a Blue Period picture.  The blues nicely convey the loneliness of the dog.  Oddly, the colors look very different in the photo than they do in real life.  The dog, the tree trunk, and the moon are much more blue in the actual picture.


And here's Crazy Bug's (much more abstract) picture of a raspberry bush.  Raspberries not only make her happy, she told me, but they are also easy to paint with red!


Our next project was creating a Cubist style picture.  We used a couple of Crazy Bug's stuffed animal friends as models.  I reminded her (many times) that Cubism was about exploring new ways of seeing things, so she shouldn't worry about trying to create a realistic portrait of Teddy.  Instead, we focused on using geometric and free form shapes.  I also encouraged Crazy Bug to let her feelings about Teddy guide her color choices.  Apparently, Teddy makes her "excited-happy" so she chose "party" colors to communicate that.


Thursday, June 7, 2012

How To Find the Right Level Readers for Your Child

Have you looked at the leveling systems for easy reader books lately?  The levels have gone haywire.  Every publisher uses its own system to determine reading levels, and they vary widely from publisher to publisher.  This can make it nearly impossible to determine which books are appropriate for your kiddo.  That's why I was psyched when I stumbled upon the Accelerate Reader website.  The Accelerated Reader system provides consistent level information for all books!  It's incredible easy to use.  Just go to the AR Bookfinder and type in a book title.  Look for the book level (BL).  You may also want to make sure the interest level (IL) is appropriate.  If you're looking for new titles, you can do an advanced search where you can set the book level and genre.  You'll get a lovely list that you can take over to Amazon or your local library!

Here are some examples:


BL .06    BL 1.2   BL 2.4
BL 3.5    BL 4.6     BL 5.5 

I find searching for books by level particularly helpful when I am trying to challenge my daughter.  It allows me to choose books that are just a little bit harder than what she's used to so she will be challenged but not discouraged.  I hope you find this resource as valuable as I have!