Showing posts with label art. Show all posts

Friday, June 8, 2012

Picasso Artist Study

This week we tackled Pablo Picasso for our artist study.  Picasso's variety of styles and lively personality should capture your kids' attention.  There are also so many great resources available for this unit!

Kristen over at Teaching Stars recommended some fantastic picture books that mix fiction with non-fiction.  Until I visited her blog, I'd never realized there were so many picture books about artists available!  Check out her Picasso study here for more ideas.

We read:
Pablo Picasso: Breaking All the Rules (Smart About Art), by True Kelley
Picasso and Minou, by P. I. Maltie
When Pigasso Met Mootisse, by Nina Laden
Picasso and the Girl with the Ponytail, by Laurence Anholt


I highly recommend When Pigasso Met Mootisse if you've studied both artists.  It's a very funny read. (At least if you like puns.  And I do, oh, I do.  Much to my husband's dismay.)

Next Crazy Bug had a choice of painting a picture inspired by Picasso's Blue Period or Rose Period.  We talked about how Picasso used colors express his emotions.  Crazy Bug was also able to explore how many, many shades of color there are in the world.  Basically, choose a subject to paint that makes you feel either happy (Rose Period) or sad (Blue Period).  Then use just red or blue paint mixed with various amounts of white, black, and brown to create all the different shades for your painting.

Here's my example of a Blue Period picture.  The blues nicely convey the loneliness of the dog.  Oddly, the colors look very different in the photo than they do in real life.  The dog, the tree trunk, and the moon are much more blue in the actual picture.


And here's Crazy Bug's (much more abstract) picture of a raspberry bush.  Raspberries not only make her happy, she told me, but they are also easy to paint with red!


Our next project was creating a Cubist style picture.  We used a couple of Crazy Bug's stuffed animal friends as models.  I reminded her (many times) that Cubism was about exploring new ways of seeing things, so she shouldn't worry about trying to create a realistic portrait of Teddy.  Instead, we focused on using geometric and free form shapes.  I also encouraged Crazy Bug to let her feelings about Teddy guide her color choices.  Apparently, Teddy makes her "excited-happy" so she chose "party" colors to communicate that.


Wednesday, June 6, 2012

Story of the World: Chapter 1

This weekend we read The Story of the World, Chapter 1: The Earliest People.  It told us about the nomads and how some of them came to settle in the Fertile Crescent.  Crazy Bug particularly liked the parts about the girl, Tarak, bringing home lizards for her mother to make into stew.

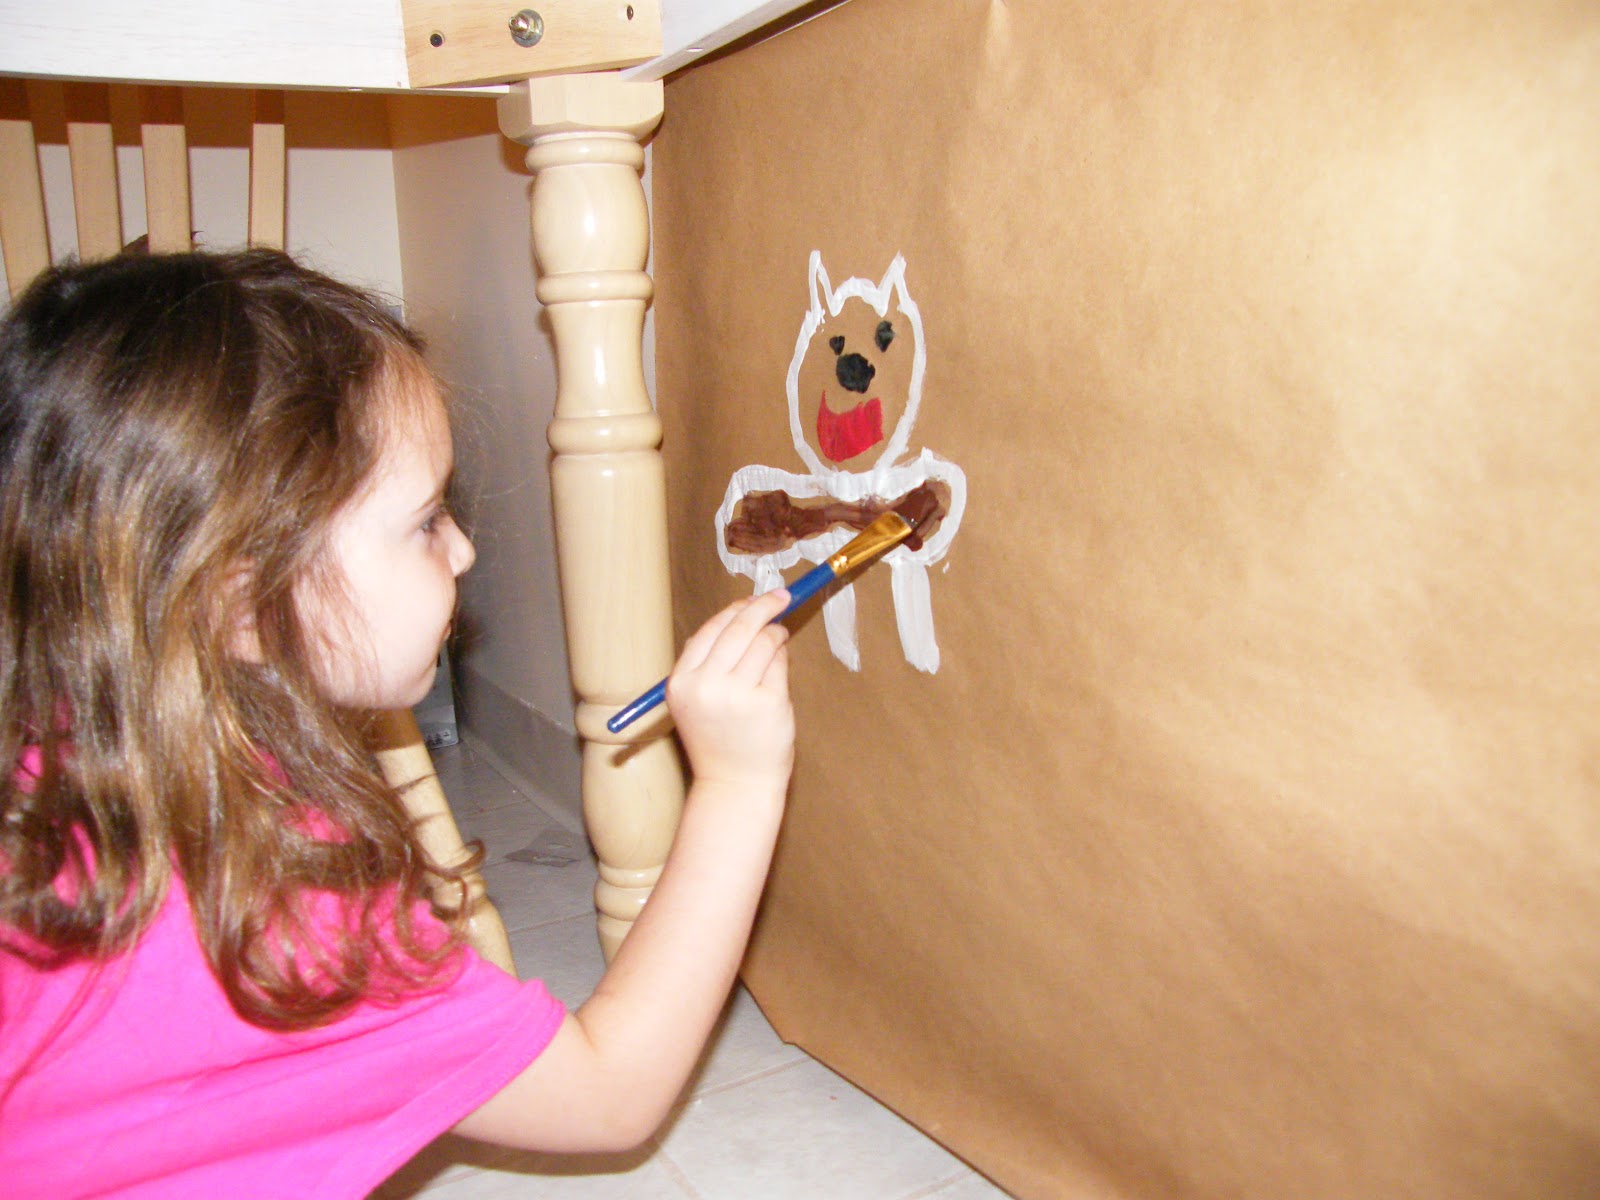
Our project was to make cave paintings like the ones the nomads made.  Our "cave" was underneath the kitchen table.  I taped brown packaging paper to the walls and pulled out some black, brown, red, and white paint.  We painted animals and animal hunts.  This led into a long session of imaginative play, where Crazy Bug hunted,gathered, and built a Lincoln Log fire so we could cook our lizard stew.


Our extra reading choices this week were The Cave Painter of Lascaux and Digging Up History (Usborne Beginners) .  The first book was not a hit, but the second one was.  After our pretend archaeology dig last week, Crazy Bug marveled at how archaeologists dug out entire cities.  The Usborne Beginners books also have internet links for more information, so we played an archaeology game online.  Crazy Bug had to act like a real archaeologist and try to determine what various artifacts were used for.  She discovered that it's harder than one might think!

Wednesday, May 23, 2012

Chihuly Artist Study


Dale Chihuly is a glass artist who makes beautiful, colorful, gigantic glass pieces that fascinate kids.  He's also an exciting artist to study because he's still alive and creating.  And he looks like a pirate.  I'd never even heard of him until Crazy Bug and I went to the MFA.  In the middle of the museum there is a 40 ft glass sculpture entitled Lime Green Icicle Tower.  It's incredible to look at up close.  It glows in the the light on a sunny day.                                                                                                             Since Chihuly is a recent artist, we couldn't find a children's biography about him.  But the Indianapolis Children's Museum came to the rescue with their Chihuly unit for teachers.  It includes a two page biography that worked perfectly for us.  There are also online games and videos that allow children to explore glass work.


Our first project was to make "glass" bowls that explore color mixing.

Materials:
Coffee filters
Washable markers
Water mister
Spray starch (try your local dollar store for a can)
Glasses, bowls, or tupperware
Newspaper

The process is pretty simple.

1.  Have your child decorate a coffee filter with markers.  Try different color combinations and patterns.  Feels free to swirl the colors all around each other.

2.  Mist the coffee filter lightly with water to help the colors start mixing.

3.  Lay down some newspaper and place upside-down glasses, bowls, or tupperware on top.

4.  Put each coffee filter over a bowl or glass and spray it with starch.  Use your finders to fold and mold the coffee filters into interesting shapes.


Crazy Bug loved this project so much that she made dozens of bowls.  They lay around our house until my mother suggest using them to make a flower garden on Crazy Bug's bedroom door.  I trimmed some green paper into a grass border and taped it to the bottom of the door, then added thick green ribbon stems.  We then tapped the bowls to the top of the stems to make flowers.  Too cute!

The second project was to make a free form "glass'' installation.  I picked up cheap clear plastic cups and stemmed glasses at the Dollar Tree and we colored them with permanent markers.  (Medium to light colored markers look best.  We painted the inside a few of the ones shown here with acrylic paint, but those turned out too dark and matte for my taste.)  I then placed them on a foil covered cookie sheet and broiled them for a couple of minutes until they started to melt.  Watch carefully and open all your windows!  Afterwards, I hot glued them together and hung them with strong thread.  This looks beautiful hung in front of a window where it will catch the light!


If you like near Indianapolis, go check out Fireworks of Glass!  We'll be soooo jealous!


*I selected this post to be featured on Education Blogs. Please visit the site and vote for my blog!*

Saturday, May 19, 2012

Matisse Artist Study

File:Portrait of Henri Matisse 1933 May 20.jpgI picked Henri Matisse for our newest artist study simply because of his work with paper cuttings.  Crazy Bug is a serious snipperer.  Sometimes call her the Once-ler because she goes through so much paper.  So I knew she'd enjoy these projects.

We read Henri Matisse: Drawing with Scissors (Smart About Art).  Next we tried two different art projects. (Just because snipping is so fun!)  The first was a self-portrait project that I found at Art lessons for Kids, that she in turn found at IncredibleArt.com.

I included this project to try to break Crazy Bug out of her rigid, perfectionist habits.  She hates trying anything new, so I new making a crazy, odd picture would be tough for her.  She complained many times while making it, but she loved the end result.  (Except for the lopsided smile.)

The second picture was a collage made from shaped paper cut-outs.  It was inspired by the "I am the Vine" parable we heard at church last week.  (John 15:5)  I thought it tied in nicely because Matisse also designed an entire church.  We did this one as a collaborative project.


Tuesday, May 8, 2012

A Trip to the MFA

I took Crazy Bug to the MFA for the first time a few months ago, and we went back today.  An art museum may sound like the dullest place in the world for a 6 year-old, but it doesn't have to be!  Here are some tips:

1.  Let your child be the guide.
Don't make your kids spend 5 minutes staring at a picture just because it's a Picasso.  My daughter zipped through galleries in record time, then spent 20 minutes staring at the Chihuly sculpture in the atrium.  I thought she'd be fascinated by the Egyptian exhibit, but it turned out that she'd seen a few too many Scooby-Do movies about mummies and wouldn't go in.

2.  Look for kid friendly options.
The MFA offers homeschool classes every Friday with a 45 minute art tour followed by a creative project.  It costs $8 and the child and parent both get free museum admission!  Personally, I thought a 45 minute tour was a little too long for 6 year-olds, but at least check out the options.  Museums also usually have special handouts or guides geared towards families.

3.  Don't ignore modern art.
You'd probably like your child to appreciate Renoir and Michelangelo, but young kids aren't interested in subtlety.  Instead, try the bright, bold modern art exhibits!

4.  Be prepared.
Bring a sketch book and colored pencils and let your child draw what he sees.  Or make a simple scavenger hunt to help your child have fun AND learn about art.  See below for an example.

5.  Ask questions.
This is the most important thing you can do to help your child slow down and really look at the art.  What do you like about that painting?  How is this picture different from the last one?  What animals do you see?  Did the artist use big lines or little lines?  Straight or curvy?  What do you think that man is thinking?   What do you think that sculpture is made out of?

6.  Take a break.
Go to the cafeteria or courtyard and eat a snack.  Hungry kids are fussy kids, as we all know!  Little legs get tired easily too.

7.  Collect stuff.
Collect brochures, exhibit guides, and any other hand out you can find.  You can bring them home and use them for a scrapbook of your trip.  My daughter loved finding pictures of the artwork she'd seen and pasting them onto a "My Trip" page.  Which was then glitter-glued half to death.


Simple Art Museum Scavenger Hunt

Take a few jumbo index cards, hole punch the corners, and put them on a binder ring so they don't get lost.

Write the following on the cards:

Card 1                                                                    Card 3
Can you find a ...                                                     Can you find...
Portrait                                                                    Straight lines
Landscape                                                               Curvy lines
Still Life                                                                    Dots or dabs

Card 2                                                                    Card 4
Can you find an example of...                                   Can you find a sculpture of a...
Painting                                                                    Man
Sculpture                                                                 Women
Print                                                                        Child
Pottery                                                                    Real animal
                                                                               Mythical creature

When your child finds an item, write the title of the piece on the card.  Over ambitious parent bonus idea:  Take a picture of the artwork or find an image online and add it to the cards or type up a little book.


Monet Artist Study

Self Portrait With A Beret - Oscar-Claude Monet


We've been doing a little low-key artist study this year using the Smart About Art series from Grosset & Dunlap.  I love these books because they're not as wordy or as dry as most children's biographies.  There are cartoons and word bubbles!  We read each book, then I have Crazy Bug fill out a sheet I typed up.  It has spots for the name of the artist, his year of birth and nationality, the artistic movement he was part of, and a brief description of his style.  (CB just jots down descriptive phrases, not whole sentences)  There's a space at the bottom to attach a picture of her favorite painting or sculpture by the artist.  Then we do a project in the style of the artist.

For example, today we read Claude Monet: Sunshine and Waterlilies (Smart About Art).

Artist: Claude Monet
Year of Birth: 1840
Country: France
Movement: Impressionism
Description: dabs of color, painted outside, light

For the project we looked at the painting The Waterlilies and tried to recreate it.  Now obviously, my 6 year old is not going to be able to paint a recognizable copy of The Waterlilies.  That's okay.  The point is, that in attempting to recreate it, she's looking closely at the artist's technique.  We observed that the water was made up of blue, green, and purple short up-and-down strokes.  The lilies used red, yellow, peach, pink, white, and light blue and were made with little swirly strokes.  Monet used extra green around clumps of flowers to suggest grasses.  The point of our artist study is not to create an artist, nor even to remember different painters and styles.  Instead, I want Crazy Bug to learn to notice how artists create their effects.  What colors, lines, and textures do they use?  Do things look realistic or not?  What kind of mood or reaction do those elements create?

Water Lilies 1916

Crazy Bug's Reproduction